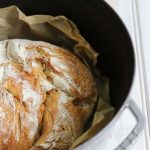
To be honest – this is probably something you know already for ages, but for me it was something new: No Knead Bread :) The bread that is preparing itself basically….. really ;))
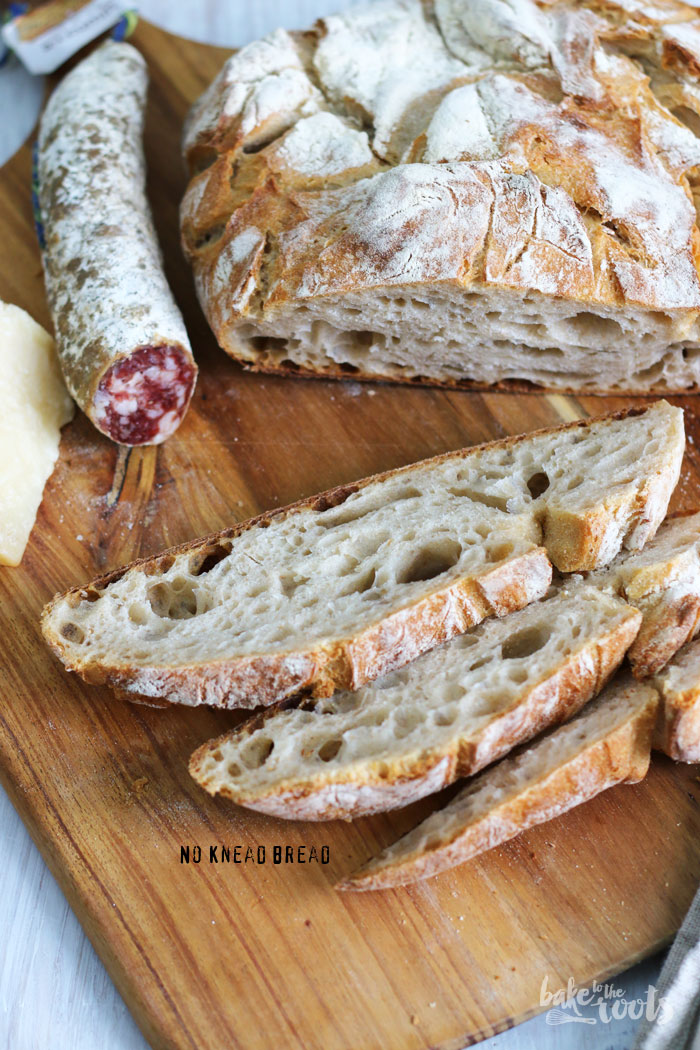
Of course I am not the first one to bake this kind of bread – there are already tons of books out there filled with no-knead bread recipes. Nonetheless – I always wanted to make one for the blog here. And guess what – it is happening right now :P
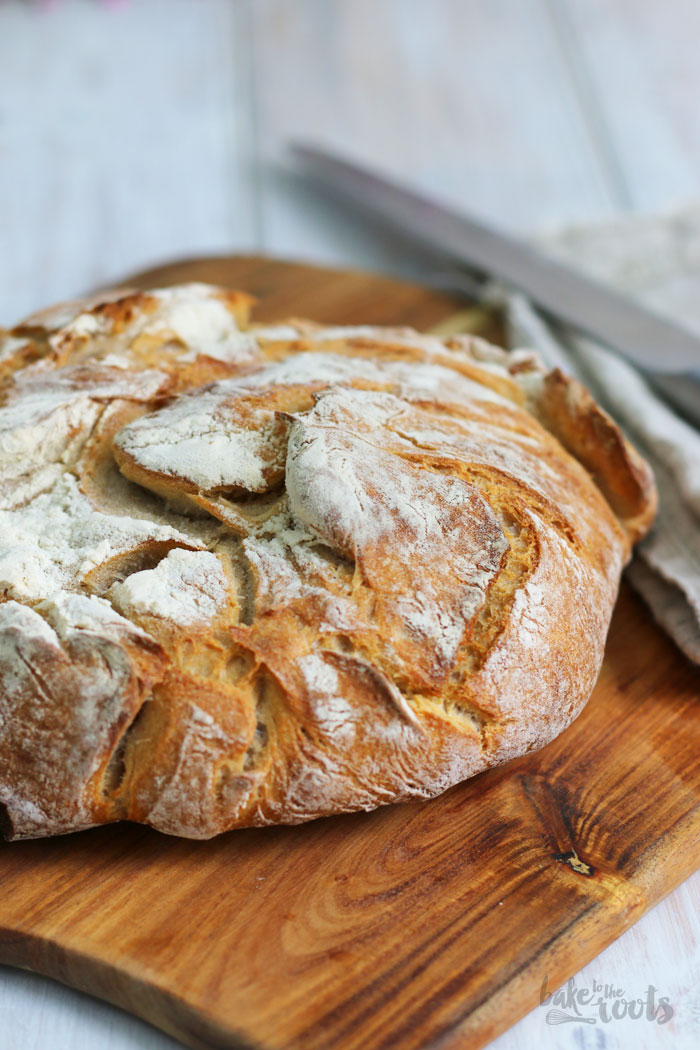
It is really easy – told you that already at the beginning of the article – you hardly have to work here. Saying that – I needed two attempts to get it right ;) The first one I made was not like I wanted – the texture and flavor was awesome, but it was way too flat. Why? Well – the pot was too big – that easy. The dough could not rise properly, cause it spread too much. The second time I used a smaller pot and it worked much better. Next time I will even try a smaller pot I think ;)
INGREDIENTS / ZUTATEN
1/4 tsp. dry yeast
1 1/4 tsp. salt
1/4 TL Trockenhefe
1 1/4 TL Salz
DIRECTIONS / ZUBEREITUNG
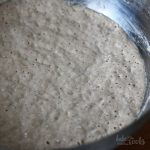
2. The dough should have developed loads of small bubbles. Place a large piece of baking parchment on your working surface and dust well with flour. Pour the dough on top and dust with some more flour. Use the baking parchment to fold the dough from all sides to the center like an envelope. Cover loosely with plastic wrap and let rest for about 15 minutes.
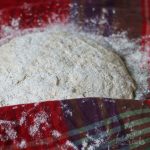
3. Dust a kitchen towel with a good amound of flour and place the folded dough on top – the smooth side should face up now. Dust with more flour and cover with a second kitchen towel. Let rest for about 2 hours – the dough should have doubled in size.
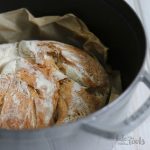
4. Start preheating the oven to 480°F (250°C) at least 30 minutes before the dough is done rising. Place a 6 quart cast iron pot with lid in the cold oven on the lowest rack and heat up. When the dough is ready, reduce the heat to 450°F (230°C), remove the pot from the oven (be careful it is VERY HOT!) and place the dough in the pot – this time the smooth side should face down. Cover with the lid and bake in the oven for about 30 minutes, then remove the lid and bake for another 15-25 minutes – the top should have a nice brown color. Let cool down on a wire rack.
2. Der Teig sollte viele kleine Bläschen entwickelt haben. Ein großes Stück Backpapier auf die Arbeitsfläche legen und gut mit Mehl einstäuben. Den Teig auf darauf “gießen” und mit Mehl bestäuben. Mit Hilfe des Backpapiers nun den Teig von allen Seiten zur Mitte falten – wie bei einem Briefumschlag in etwa. Locker mit Klarsichtfolie abdecken und für etwa 15 Minuten ruhen lassen.
3. Ein sauberes Küchentuch mit einer guten Portion Mehl einstäuben (seid nicht sparsam, sonst klebt er am Ende am Tuch). Den Teig kopfüber auf das Tuch legen – die gefaltete Seite schaut also jetzt nach unten und die glatte Seite nach oben. Nochmal etwas Mehl drauf und mit einem zweiten Küchentuch abdecken. Etwa 2 Stunden gehen lassen – der Teig sollte sich im Volumen verdoppelt haben.
4. Den Ofen auf 250°C (480°F) vorheizen – das sollte mindestens 30 Minuten vor dem Ende der Gehzeit des Teiges sein – dazu eine Cocotte/Kochtopf (ca. 7l) aus Metall mit Deckel auf die unterste Schiene des Ofens stellen und dann anfangen aufzuheizen – der Topf muss mit heiß werden. Sobald der Teig bereit ist, die Temperatur 230°C (550°F) reduzieren, den Topf/Cocotte aus dem Ofen nehmen (Vorsicht: Sehr heiß!) und den Teig in den Topf legen – die Oberseite sollte diesmal unten sein – den Teig also wieder umdrehen. Deckel drauf und wieder in den Ofen. Für 30 Minuten backen, dann den Deckel entfernen und weitere 15-20 Minuten backen – die Oberfläche des Brotes sollte schön gebräunt und knusprig aussehen. Auf einem Kuchengitter komplett abkühlen lassen.
Craving more? Keep in touch on Facebook, Twitter, Instagram and Pinterest for new post updates and more. You can also contact me with any questions or inquiries!
Here is a version of the recipe you can print easily.
Print
No Knead Bread
- Prep Time: 20
- Cook Time: 50
- Total Time: 1260
- Yield: 1 1x
Ingredients
- 3 cups (400g) bread flour (plus more for dusting)
- 1/4 tsp. dry yeast
- 1 1/4 tsp. salt
Instructions
- In a large bowl mix flour with the dry yeast and salt. Add 1 5/8 cups (390ml) water and stir with a wooden spoon until well combined. The mixture will be quite liquid and very sticky. Cover with plastic wrap and let rest at room temperature for about 16-18 hours.
- The dough should have developed loads of small bubbles. Place a large piece of baking parchment on your working surface and dust well with flour. Pour the dough on top and dust with some more flour. Use the baking parchment to fold the dough from all sides to the center like an envelope. Cover loosely with plastic wrap and let rest for about 15 minutes.
- Dust a kitchen towel with a good amound of flour and place the folded dough on top – the smooth side should face up now. Dust with more flour and cover with a second kitchen towel. Let rest for about 2 hours – the dough should have doubled in size.
- Start preheating the oven to 480°F (250°C) at least 30 minutes before the dough is done rising. Place a 6 quart cast iron pot with lid in the cold oven on the lowest rack and heat up. When the dough is ready, reduce the heat to 450°F (230°C), remove the pot from the oven (be careful it is VERY HOT!) and place the dough in the pot – this time the smooth side should face down. Cover with the lid and bake in the oven for about 30 minutes, then remove the lid and bake for another 15-25 minutes – the top should have a nice brown color. Let cool down on a wire rack.
Notes
- Enjoy baking!




 I love my job, but in between I love to bake and try new things in the kitchen. A lot of my friends and colleagues encourage me to bake - for a very simple reason: they get the leftovers - and it seems they like it most of the time ;)